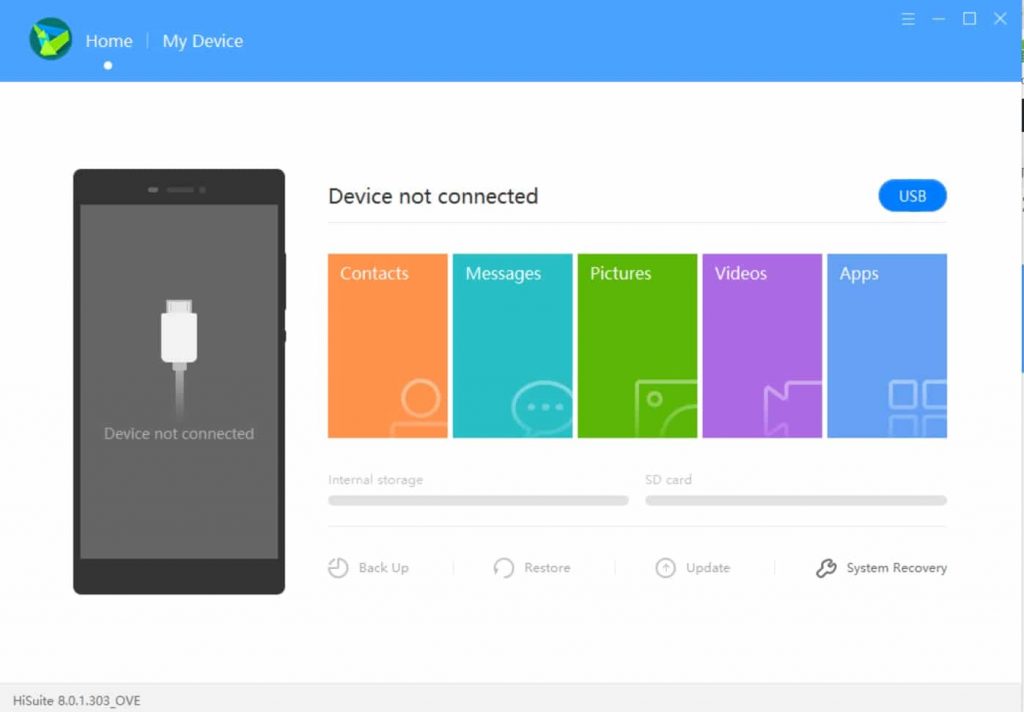
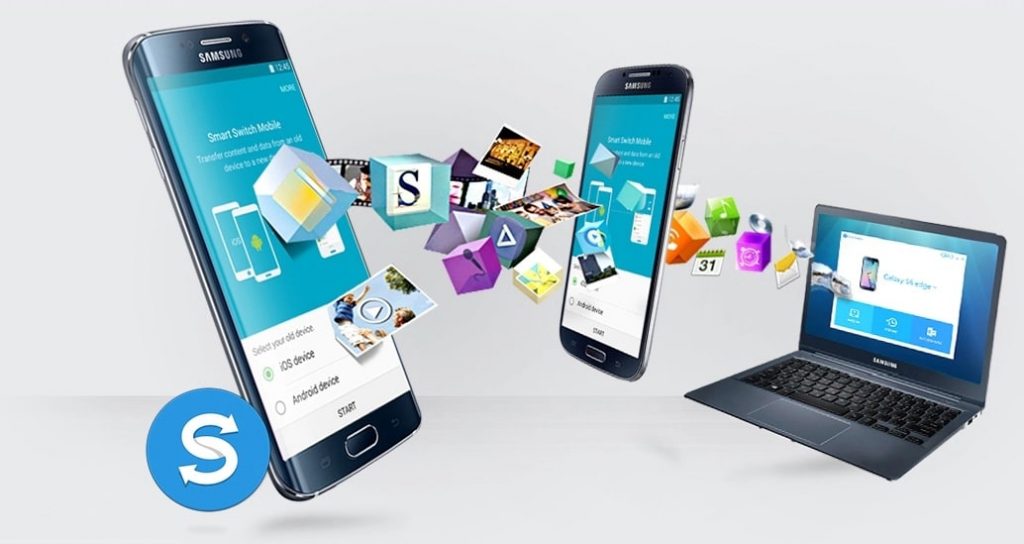
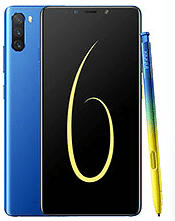
USB drivers play an important role in connectivity. Android is an open source project that allows you to perform various functions on your Android smartphone via a computer. When performing these actions, you will need to install the USB drivers for your smartphone on your computer.
When transferring data files to your phone from your computer, software like Odin requires installing USB drivers on your computer to detect your phone. There are many other drivers for Android that are required when performing the required actions, such as loading ADB of the OTA package to your smartphone sideways by typing commands at the command prompt via l & # 39; computer.
In this tutorial, we will explain how to install Android USB drivers on your computer for your smartphone in a few simple steps.

Steps to install Android USB drivers on your computer
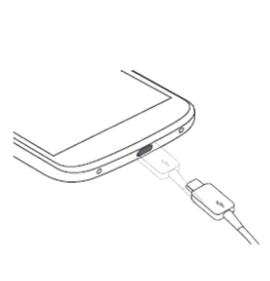
Step 1: you must download the Latest USB drivers for your Android smartphone on your computer.
Step 2: On the desktop of your computer, right click on "my computer" or "this PC" then select the "Manage" option or simply go to "Device Manager" by typing it in the bar Windows Start menu search.
Step 3: In "Device Manager", click on the "action" option located in the top menu, then select the "Add Legacy Hardware" option.
Step 4: After selecting "Add legacy hardware", the new window will appear. Click "Next" and then select the option "install the hardware I select manually from a list (Advanced)".
Step 5: After that click on "Next-> Next" and select "Have Disk" then click on "Browse" button and locate the USB drivers folder that you downloaded on your computer, then open it and you will see the file "Android_winusb.inf". Select it.
Step 6: After selecting the required file, follow the on-screen instructions and click "Next" to install.
If you have any questions regarding this article, let us know in the comments section.


