Our mobiles are increasingly powerful and independent, but that does not mean that sooner or later you need connect them to a computer to make a backup, transfer photos or manage the mobile with ADB.
If you need to connect your mobile to your PC, the number of options can be a bit overwhelming. Here we will explain each option, how they work and what you can use them for, focusing on connections through the mobile USB cable.
First, the cable
Although it is obvious to many, the first step is undeniably to connect the two devices using a USB cable. The easiest is to use the original cable that comes with the mobileas it already has the correct specifications and should generally be of good quality unless it has worn down over time.
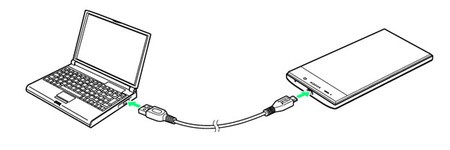
You only need connect the Micro USB or USB-C end to the mobile and the other end to the PC or portable. Most of the time the end that goes to the PC is a lifelong USB connection (USB Type A), but it could be the case that it was also USB-C.
It is important make it a good cable, otherwise the connection will be unstable. Not only will it mean that transfers are slower, but it can have dire consequences for the mobile if you use it to update the firmware with Odin or similar. If every time you move a little the cable disconnects, then it is time to change cables.
Choose the connection mode
After connecting the mobile to the computer, you may see a window like the following one, asking you to choose the connection mode. The amount of available options and the design of this menu depends a lot on the personalization layer of your mobile
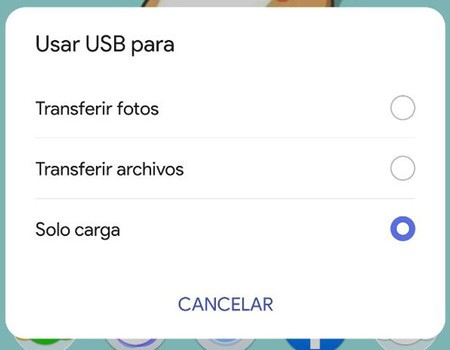
Sometimes the window does not appear, but is displayed a permanent notification indicating that a USB cable is connected. Tapping on this notification opens the options window, where you can choose between the different connection modes.
Transfer files
This is the default option, and almost certainly the one that interests you. When choosing it, your mobile shown as one more device on your PC, separating the internal memory of the mobile from the memory card, if any. You can access all user files (that is, not protected system folders) from your PC’s File Explorer.
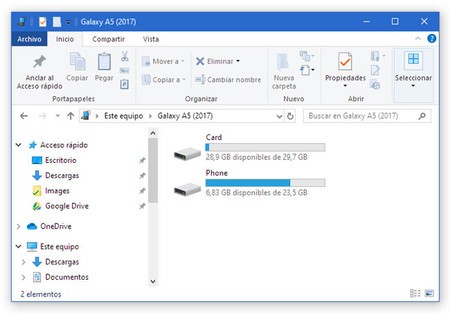
The main difference between transferring files and transferring photos, the option that we will see next, is that in this case all files are included regardless of whether they are photos, videos, documents or APK files.
Transfer photos
Photo transfer is a connection mode that uses the MTP (Media Transfer Protocol) standard or, if it is a very old version of Android, perhaps PTP (Picture Transfer Protocol). It is a standard developed for transfer photos and videos from and to portable media devices, such as USB players, digital cameras or … yes, Android phones.
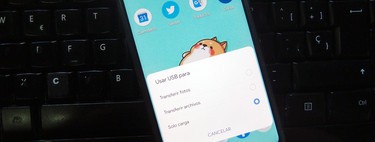
There is really no compelling reason to use this mode instead of the previous one, and even some manufacturers like Samsung indicate in the text that it is roughly a mode that you should use as second option if the previous one gives you problems: “select this mode if the option Transfer files it does not work”.
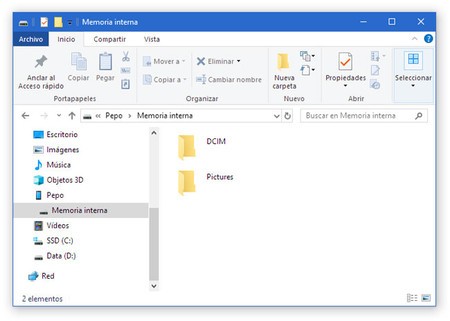
Unlike Transfer Files, this mode only displays folders containing photos. When entering these folders, only files with photos are displayed or videos in the file explorer. This mode can be useful for offering better compatibility with applications that automatically sync photos from digital cameras.
Just charge
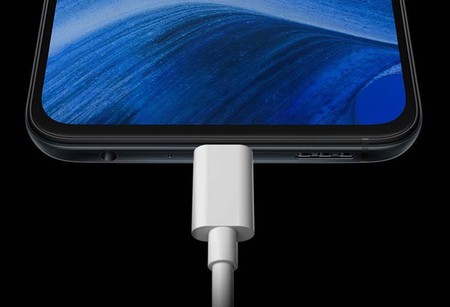
The name says it all, “Just load” only will use the USB connection to charge the mobile and it will not give you access of any kind to the files on your mobile. The advantage of this type of connection is that the charge is faster than if you connect the mobile in one of the two previous modes.
Other modes
Depending on the version of Android you have, the brand of your mobile and its characteristics, you may see even more options after connecting the mobile to the PC using a USB cable. They are as follows:
-
Reverse charge. This mode is the same as “charge only”, but in reverse. That is, the mobile battery will be used to charge the other device. This does not make sense when connecting it to a PC, but it does if you are connecting another portable device such as another mobile or a digital camera.
-
MIDI input. This mode is used to connect MIDI devices, commonly used in musical instruments and that can be connected directly to the mobile via USB from Android Honeycomb.
You can also use the official app
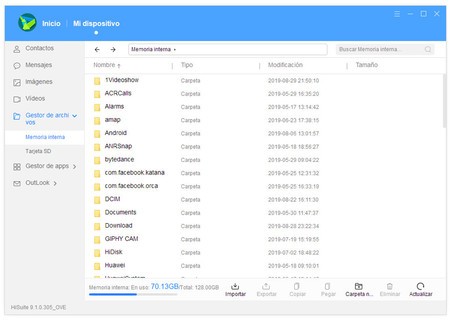
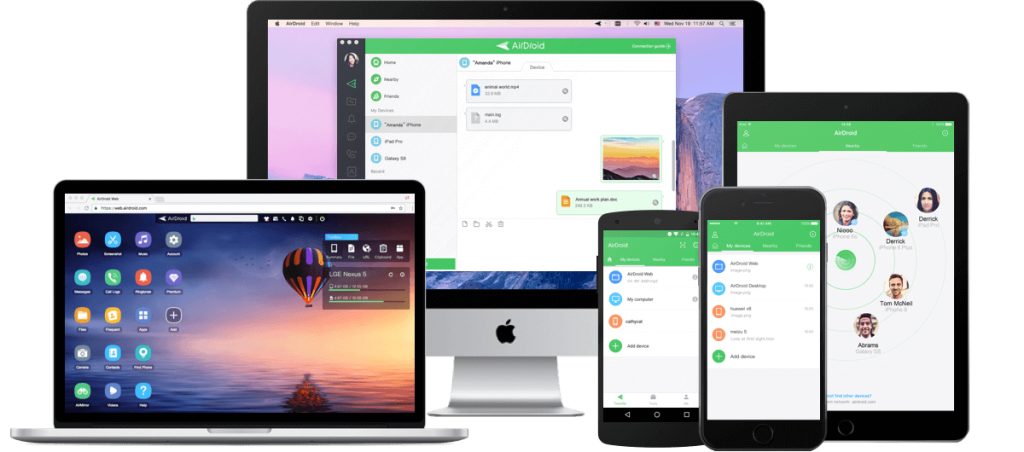
Some mobile brands have your official support app, which facilitates the connection between the PC and the mobile. If you only want to copy files, photos and videos, there is not a big difference from the previous methods, although they usually include additional functions such as allowing you to update the firmware, consult contacts or view and reply to SMS from the PC.
Generally you just need to install the application on your PC and then connect the mobile to it using its cable. Some of these applications require you to enable USB debugging, which we will see below. These are some of the apps for the different brands of Android phones:
USB debugging connection
Also via cable, although a little different from the previous one, it is USB debugging. It is a mode designed for developers and advanced users, which we have seen here frequently, as it is one of the requirements to make an ADB connection.
This type of connection is disabled by default, so you first need to activate the options for developers and then, already in them, check USB debugging.
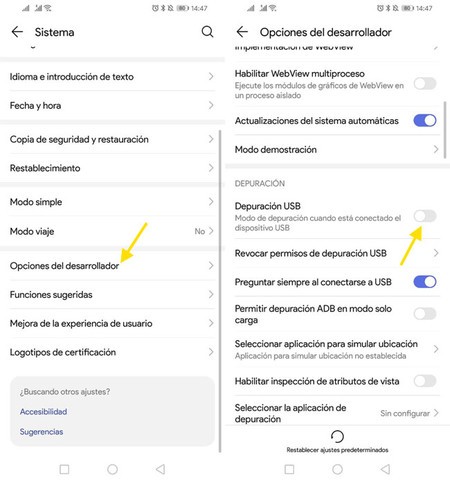
That is when you must connect the cable, and the first time you do it you must allow USB debugging from your PC. A warning will appear indicating the unique RSA key of your PC and you need to accept the connection. If you wish, you can mark a box so that it does not ask you more.
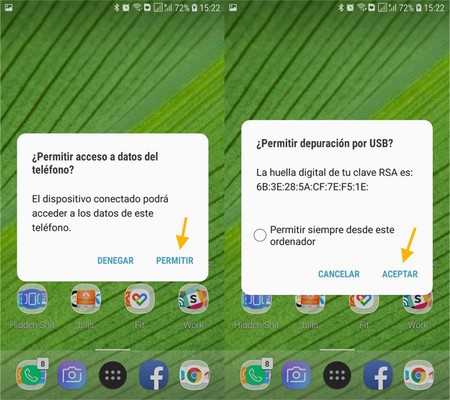
Then the mobile will be connected to the PC in USB debugging mode. This in itself does nothing, but you need an application that takes advantage of it. Some applications to view the mobile screen on the PC require a USB debugging connection, and also is necessary to use ADB.
