Android Automotive is the version of Android that is installed directly in infotainment systems, unlike Android Auto, which runs on mobile phones and is projected onto the screen. If you want to try Android Automotive, a good option is to use the official emulator within Android Studio.
At the moment Android Automotive is only in a handful of vehicles, but whether you are an application developer or if you are interested in knowing what you can and what you cannot do with it, you may be interested test it quietly on your home PC. It is very easy, much more than making it work unofficial on a tablet.
1. Install Android Studio
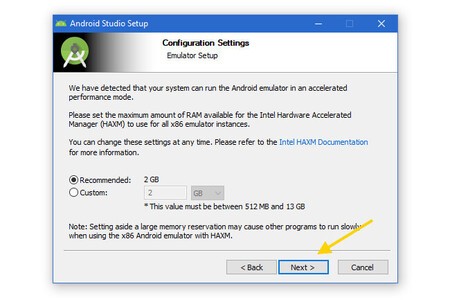
We are going to use the official Android Automotive emulator from Android Studio, so the first step is obvious: get Android Studio. We have already told you several times how to download and install Android Studio on the PC, although the process can be summarized in downloading the installer from its website and following the wizard in which you do not have to do much more than press Next.

Google added official support for Android Automotive image in Android Studio a couple of years ago, so the process is quite simple, similar to creating a virtual device of an Android mobile or a TV with Android TV.
2. Create your virtual car
With Android Studio installed, you must open AVD Manager, the place where the virtual devices for the emulator are created. You will find it in the menu Tools – AVD Manager. After opening it, press Create Virtual Device, or create virtual device.

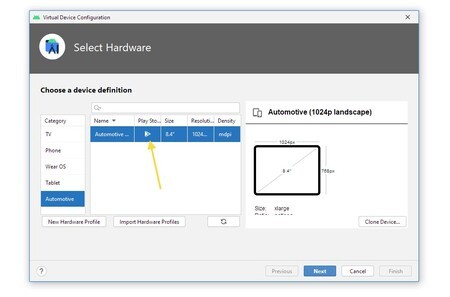
The first step is to choose the device that you are going to emulate. You will see that on the left are several rows with categories, where you need to click on Automotive. Usually you will find that there is only one option to choose from, so select that profile and press Next, O Next.
Now is the time to choose the Android Automotive image to install on that virtual device. If this is the first time you do this, you will not have any downloaded, so first of all you must download it.
You may see several different versions, so it is up to you to choose which version of Android Automotive do you want to emulate. When you have it, click the button Download next to that version, to start the download.

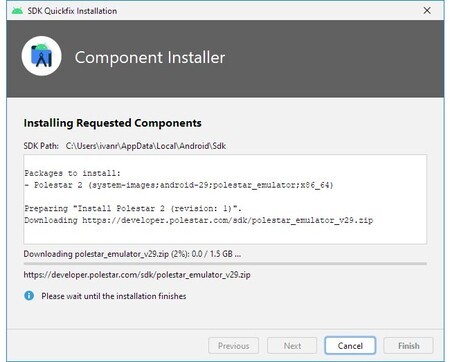
At this point, Android Studio will start download Android Automotive version. It occupies more than 1 GB, so it will take a while, depending on the speed of your Internet connection. The good news is that you don’t need to do anything else until it’s done: it will download and get ready automatically.
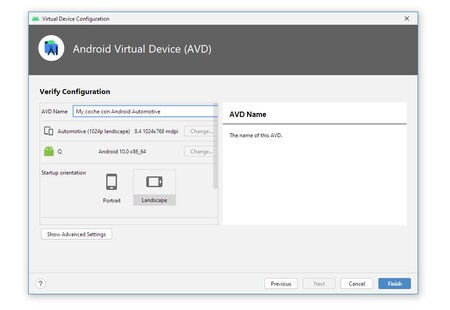
When done, tap Finalize, O Finish and you will get the last confirmation window before creating your virtual device. There really isn’t much to change here except choose a name for your virtual device. This is totally optional, you can leave the default name if you prefer.
3. Start your virtual car
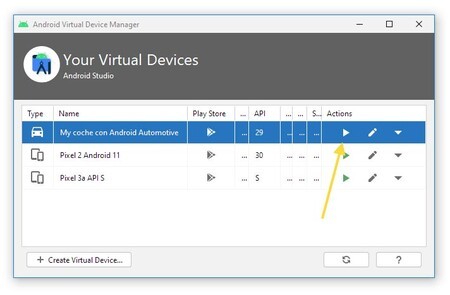
In the AVD Manager window, you will see that the Android Automotive virtual device now appears, easy to recognize as it has a car icon. Press the play button on your left to start the virtual machine.
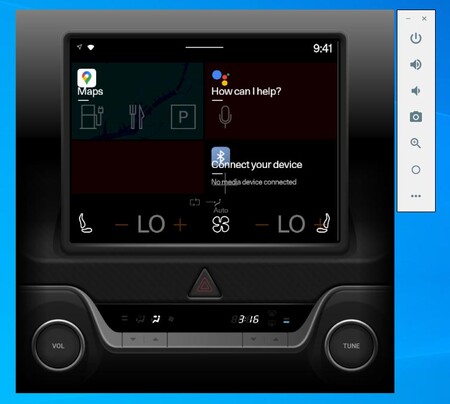
Give it a few seconds to start and you will have your infotainment system with virtual Android Automotive. Although the “skin” of the emulator includes many buttons, they are really an ornament: you can only interact with the screen.
While the emulator seems to have some issues with the size and position of the elements, it is fully functional and bring google servicesSo you can try Google Maps or the Google Assistant.
For more concrete tests, press the options button in the floating menu, which opens the extended controls for the emulator. You will see here two tabs related to Android Automotive: Car data Y Sensor Replay.
In Car Data you can simulate that the car is traveling at a certain speed, change gear, activate or deactivate night mode or change the boot state. This is useful as some applications cannot be used while the car is in circulation.
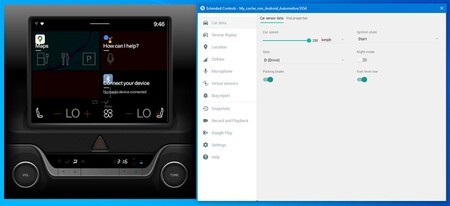
In that same section, but in the tab Vhal properties You can change the status of a lot of car properties, which could affect the applications and the system, such as the battery level, whether a door is open or closed or the status of the lights.
